
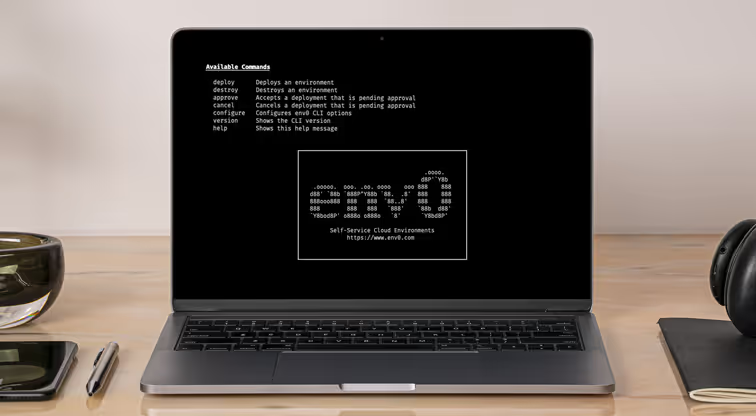
At env0 we know how important workflows are for developers, which is why we’re excited to announce the brand new env0 CLI! Just like our GUI at env0.com and our API, you can make use of the features and capabilities of env0 through the CLI to build your own perfect workflow.
Why a CLI? As your system becomes more robust and complex, you may often find yourself working with different service providers and 3rd-parties to assist your dev team. Whether it’s your cloud provider, different security-related solutions or CI/CD platforms, they usually provide you with a decent user interface to handle your requirements and actions. As time goes by, you could find yourself wanting a better degree of automation to your day to day operations. A CLI is a great way to do all this without ever having to change context or even take your hands off the keyboard.
And because we’re big supporters of Open Source and believe in sharing our code with the world, we’re proud to say that our CLI is fully open-sourced. The CLI can be found on GitHub and is published via npm and you’re welcome to leave your feedback and contribute.
Setting Up the CLI
First, we need to verify that NodeJS (a dependency for the CLI) is installed and that we can globally install our package:
npm install -g @env0/cli
// or
yarn global add @env0/cli
After installing the command line tool, we need to head over to the env0 UI to create a new API key and secret for our CLI usage. You can find it under the Organization -> Settings -> API Keys screen.
Now we need to configure the CLI tool with proper settings and secrets using the env0 configure command:
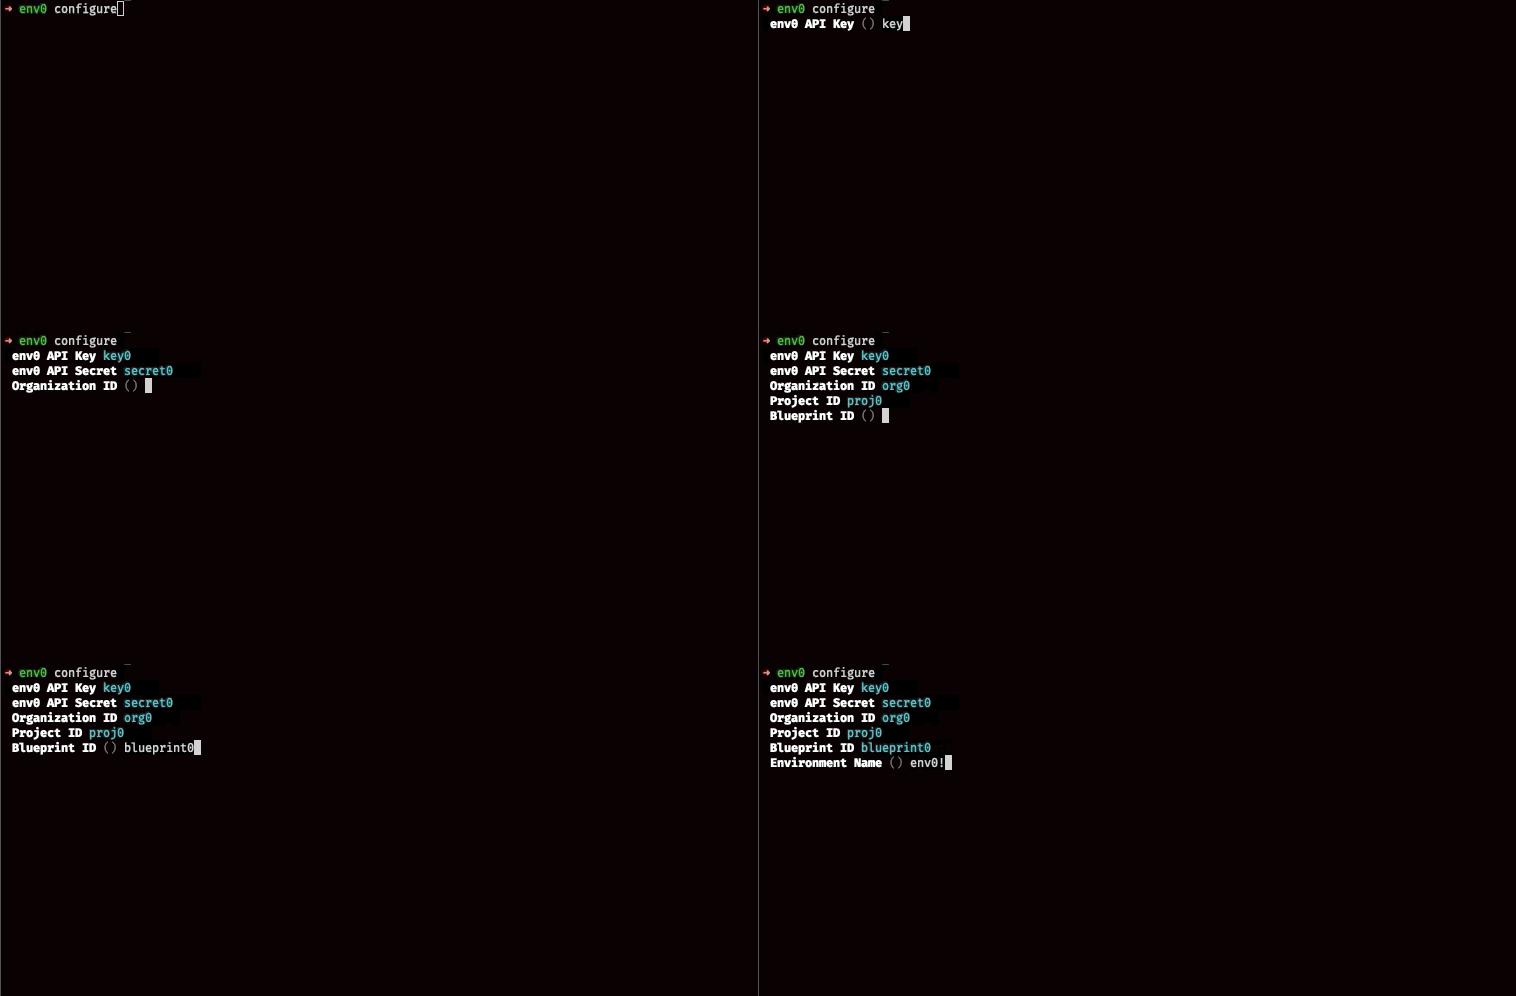
If you aren’t aware of your organization, project and blueprint IDs — don’t worry! Head over to app.env0.com and follow our walk through to learn about the different entities in the flow.
Now that we have a properly configured CLI, we can run our first deployment using the env0 deploy command, or have our existing environment taken off using the env0 destroy command!
Using the CLI
Once your CLI is set up, you can use it to easily manage your cloud environments from your local machine, while maintaining all the governance and visibility that env0 gives you. What can you do with the CLI?
Deploy/Destroy
Deploy or destroy your environments using
env0 deploy
// or
env0 destroy
And just wait a little to see your live deployment getting updated on your console’s output!

Plan/Approve Plan
Another common practice in the env0 platform is to run your deployment where it’ll wait for an approval before applying actual changes. This flow is also achievable via the new CLI using the - requiresApproval (-a) argument.
env0 deploy -a
// or
env0 destroy -a
Your deployment will halt and wait for approval before continuing. In order to approve or cancel your current environment’s deployment you can use either of the commands:
env0 approve
// or
env0 cancel
For extensive information on how to use the above commands please approach the env0 CLI official README.
Streamlined Deployment Steps Logs
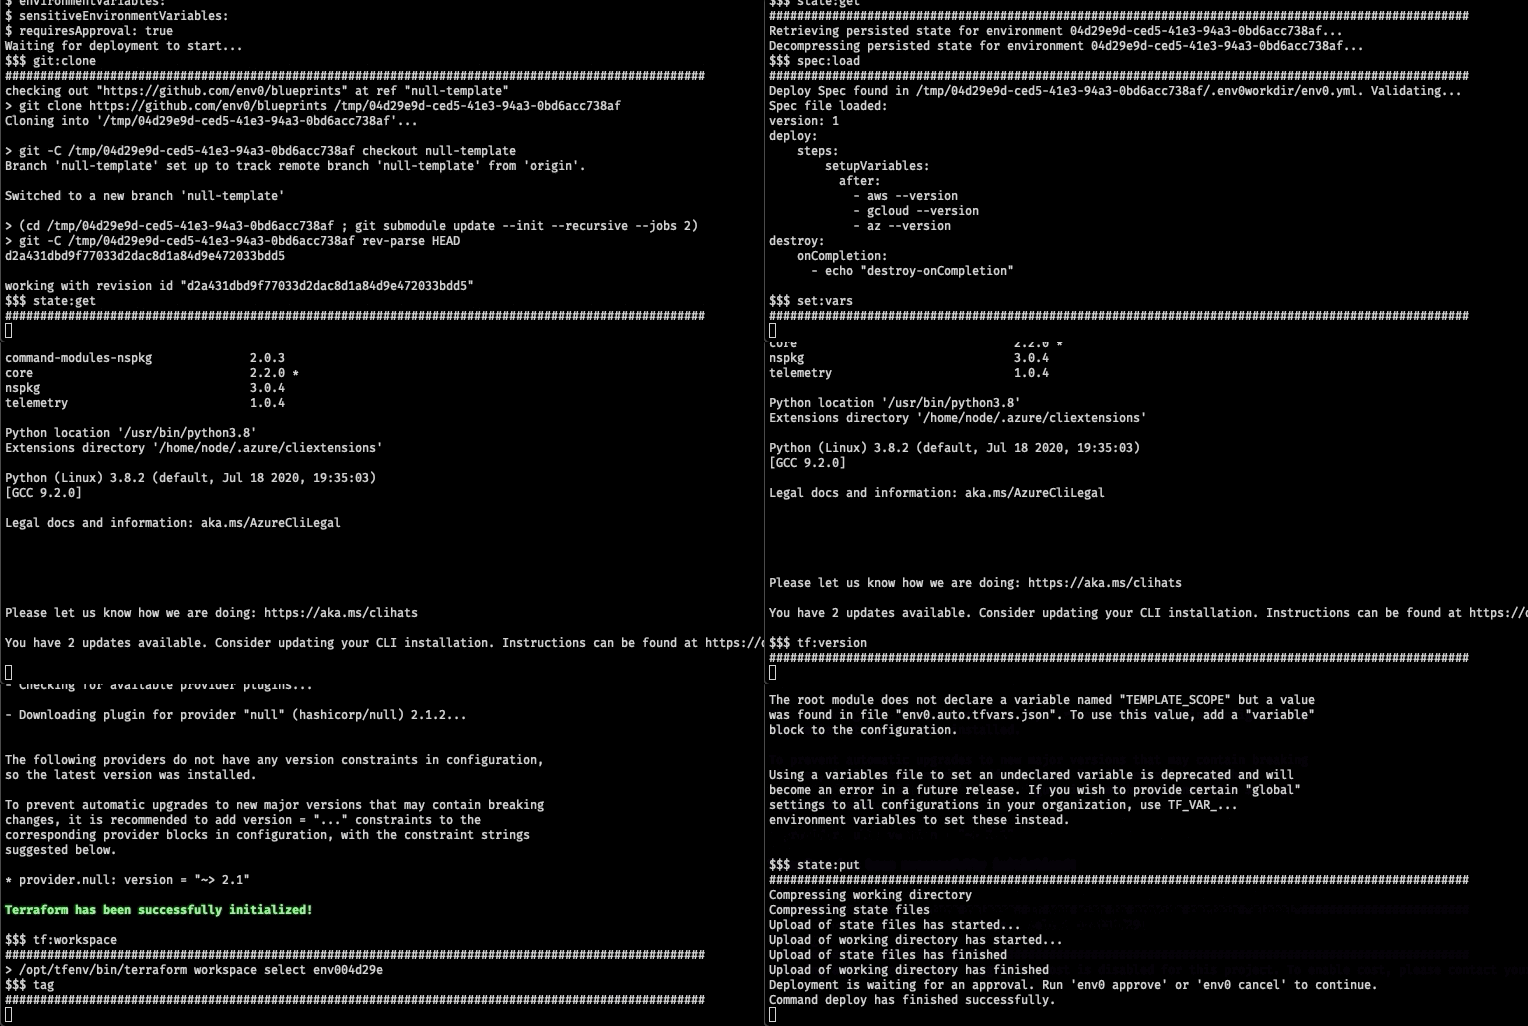
When dealing with deployments, the most interesting view is the console output that shows your deployment logs. On the env0 platform, you already get an organized and detailed view of your deployment logs, divided into predefined steps (i.e git clone, terraform init, terraform plan/apply and etc.)
The env0 CLI keeps the same experience with streamlined deployment steps logs that are sent to your console right away and gives you a live view of your deployment status.
Learn More
Using the env0 CLI lets you and your team enjoy the convenience of a local CLI with all the automation, governance, and visibility that env0 brings for your environments and their deployments. Feel free to test it out and provide us with feedback!
You may also follow our detailed README for a full list of the commands and their available arguments.
You’re more than welcome to check us out on env0.com. don’t hesitate to reach out if you have any questions or schedule a demo with us if you’re interested to hear more!


.webp)


.png)


.avif)
.png)